Paddles Upgrades

Our Favorite Paddle Upgrades
We use CRBN paddles, Jett a 2x Power Series, and a 1X Power Series for myself, and we love them. But as good as these paddles are right out of the box, we like to customize them to our tastes.
We’re going to show you our favorite paddle upgrades, one that works great for kids, and then one that works for guys with big hands.
Paddle Upgrades for Kids
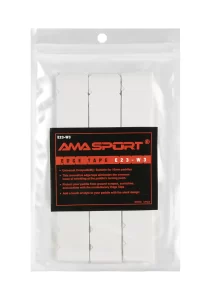
Overgrips
If you know your child’s grip size, you may want to change the diameter, up or down. For Jett, he likes just 1 overgrip over the top of the factory grip on his 2X. We use ADV Max Tac and Head Super Comp over grips most often. This gives the handle a little more diameter (about 1/8″ – 1/4″ per overgrip.) Aftermarket overgrips also provide superior sweat absorption and tackiness, which leads to more control, feel, and confidence.
Hesacore Hexagonal Overgrip
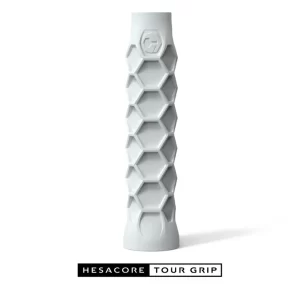 I recently added a Hesacore overgrip to my paddle and let Jett try it out. He loved it, but it was too big (medium sized.)
We got him a size Small, added it to his paddle with a single ADV Max Tac overgrip to finish, and he loves this combination!
The Hesacore grips offer superior vibration dampening, which can help if you suffer from tendonitis in the elbow (tennis elbow, or pickle elbow these days!)
The hexagonal grip also offers sweat another path to flow away from your hands, offering better control in hot conditions.
Driving the ball with power no longer results in a jarring transfer of energy to your hand if you hit the ball off center, so he feels confident striking the ball firmly.
Finally, once you get used to the ridges in the grip, you can feel the angle of your paddle by touch, rather than looking at the paddle. This feature shines when you need to make small adjustments for precise counters at the kitchen.
EdgeGuard Tape
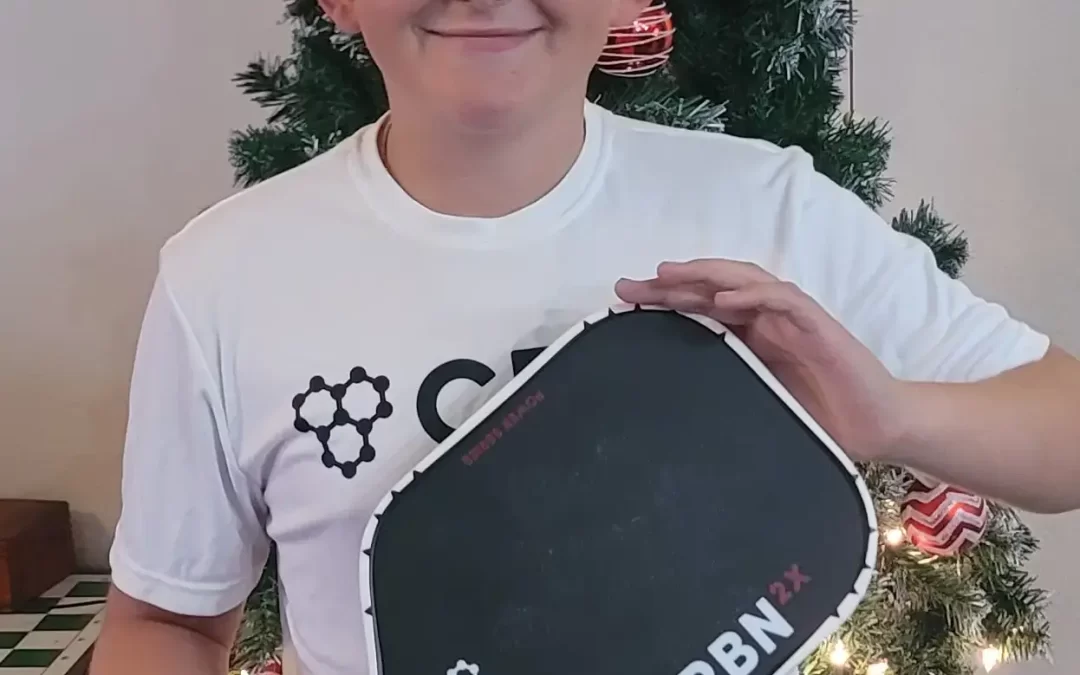
 We also added white edge guard tape to the perimeter of his paddle. This offers some protection from scuffs and scratches from hitting the ground.
But more importantly, combined with the white overgrip, the combination just looks clean. Jett’s really excited to debut this at the PPA Masters (where all the pros wear white by tradition.)
NOTE: These come in different widths based on core thickness. We used the 23mm wide version based on the manufacturer’s reccommendation for 16mm paddles and they worked great.
Paddle Upgrades for Big and Tall Men
I was the guinea pig for the Hesacore overgrip and edge guard, as I didn’t want to ruin a brand new tournament paddle for Jett.
I couldn’t find a Hesacore in a Large size, so I had to settle with a medium. I paired this up with 2 ADV Max Tac overgrips and the fit is perfect for my hands.
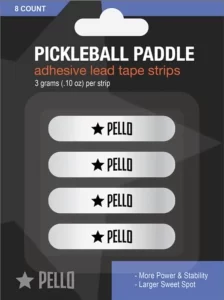
Paddle Weights
 I didn’t put any lead tape or weights on Jett’s paddle as he’s a child and I don’t think the advantages of additional weight outweigh the drawbacks in hand speed and wear and tear on the wrist and elbow.
For me however, adding a 3g Pello lead tab to each corner of my paddle proved to be worth it. For starters, the sweet spot improves considerably. If you hit a ball slightly off center, the mass at the perimeter of the paddle counteracts the off center shot and plows through the ball just as if you hit it perfectly.
I also get a better “feel” for the paddle during ground strokes. as the added weight allows me to drag my paddle behind and keep my wrist loose. It’s hard to explain, but once you play around with it and go back to an unweighted paddle, you’ll realize you can’t feel the paddle. Try it.
For my latest paddle, I put the weights under my Edge Guard Tape, and you can’t even tell they are there. The whole package looks really great and I’ve received a bunch of compliments and questions at the courts.
If you’re interested in how to add all these upgrades, we made a video (linked at the top) that shows the whole process. If you want a quick one minute video showing the Hesacore upgrade that contains two pro tips that makes the process 1000x easier, you can check that out below:
Step by Step Instructions for Installing Hesacore Over Grip
NOTE: We have updated installation instructions that make adding a Hesacore grip so much easier:
Hesacore Install Guide – 3 Tips for an Easy Installation
Original article continues below:

Step 1: Remove Factory Grip
Remove the factory over grip. Start by nicking a cut at the top of the handle. You can then unwind the grip all the way down to the base.
Step 2: Remove Glue and Lubricate Handle
The bare handle may be sticky from the glue used to keep the factory grip in place. Wipe this down with some tepid tap water to lessing the stickiness. Dry with a towel.
Pro Tip: After drying the paddle handle, I like to spray a light coating of cooking spray to add lubrication for the Hesacore grip. Wipe off excess with paper towel.

Step 3: Slide Hesacore onto Handle
Insert TWO tabs into the top of the Hesacore grip. Place the paddle between your legs (add a pillow or folded towel between your legs for extra girp on the head of the paddle. Line up the logo on the Hesacore with a flat side of the paddle. The Two plastic tabs should be positioned on the side of the paddle. Position the Hesacore over grip to the edge facing away from you catches on the opposite side of the grip. Use the tabs to work the sides over the edges of the handle. You should have at least a half inch of the backside of the Hesacore on the handle. Work the overgrip down so that all edges are now on the handle.
You should have about an inch of the Hesacore on the handle at this point.
Work the grip down the shaft of the paddle, making sure all sides are coming down together. Insert a finger on the butt end of the grip if one side is hanging up, you can recenter the grip on the handle.
If you need to rotate the grip to line up with the paddle, do it sooner rather than later, as it becomes much more difficult the more material is on the handle.

Step 4 (Optional): Tack Down With Superglue
My first install I skipped this step. Unfortunately, the grip slid down away from the buttcap, leaving a section at the bottom of the handle that was narrower than the rest of the grip. Most paddles feature a larger butt diamter than shaft, so this resulted in a very uncomfortable feeling.
On subsequent installs, I place a ring of superglue around the buttcup and slide the base of the Hesacore grip to be flush with the end of the handle. This ensures the grip stays in place and has a factory finish and feel.

Step 5: Add finishing Overgrip of Choice
For Jett’s build, I finished the install with an ADV Max Tac white overgrip. This combination provides exceptional grip and feel. Try it!
