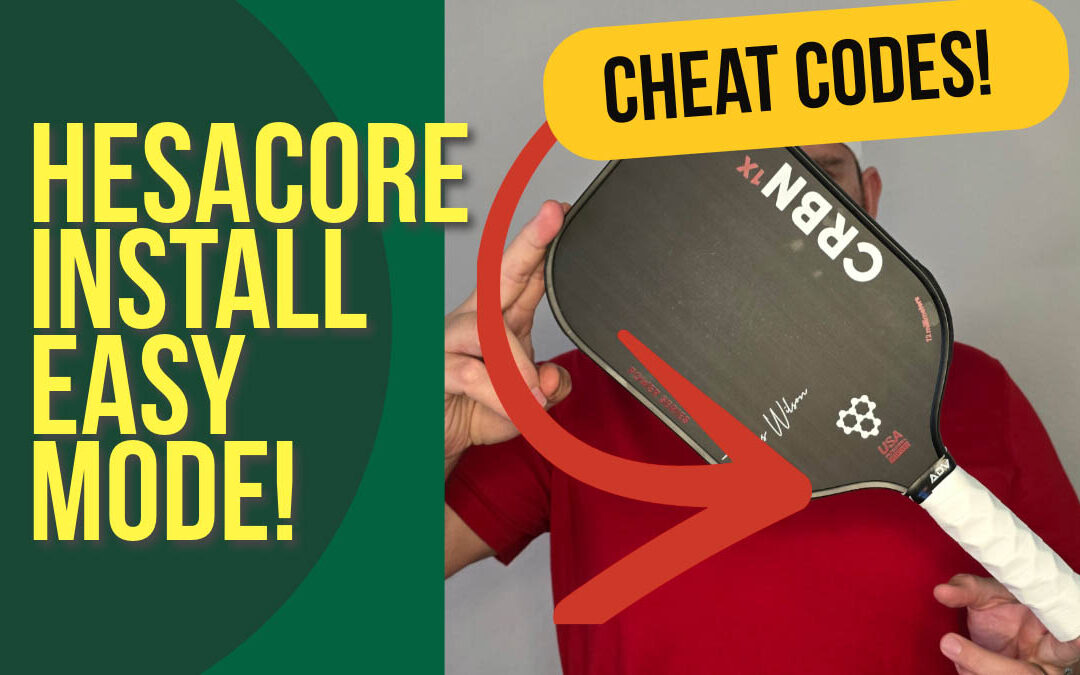
Hesacore Install
Upgrade Your Game
You’ve probably seen tricked-out paddles at your courts sporting a hexagonal grip. These grips come in many brands, but the leader of the pack is Hesacore.
They look cool, but what do they do? Hesacore grips provide additional cushioning that helps alleviate the vibrations from off-center shots that can lead to tendonitis in the elbow, also known as tennis elbow (or pickleball elbow these days!)
In addition, the divots created by the hex pattern also provide a way to switch between different grip types such as eastern, western, and continental without looking at your hand placement.
After a few days of playing with the new grip, you can switch effortlessly just by feel. Changing your paddle face angle by adjusting your grip allows you to hit difficult shots more easily. Being able to do so on the fly without looking down is a huge advantage.
If you watch the pros of the PPA or MLP, you’ll see them switching grip types between shots for this reason.
So now you know you need a Hesacore, but they look difficult to install. If you follow the manufacturer’s instructions, adding these grips can be quite difficult.
In fact, I tore the first grip I tried to install. But practice makes perfect, and we have some tips and tricks that make the process super easy.
Let’s get started!
Step by Step Instructions for Installing a Hesacore Over Grip

Step 1: Remove Factory Grip
Remove the factory over grip. Start by nicking a cut at the top of the handle. You can then unwind the grip all the way down to the base.

Step 2: Soak Hesacore Grip
Run a little hot water in the sink and let the grip soak for a few minutes. This makes the material much more pliable. This step is the key trick to an easy install.
Water should be around hot tub temperature. Hot enough to be warm but not so hot that the water burns your skin.

Step 3: Lubricate Paddle Handle
Spray a light coating of cooking spray on the bare paddle handle. This reduces friction and makes pulling the grip onto the handle very easy.
NOTE: Do not use petroleum based lubricants like WD-40 as they may dissolve the material in the Hesacore. We use olive oil spray or canola oil spray.

Step 4: Slide Hesacore onto Handle
Identify the flat side of the Hesacore grip. You’ll see the logos.
Insert TWO tabs into the top of the Hesacore grip. Place the paddle between your legs (add a pillow or folded towel between your legs for extra girp on the head of the paddle.
Line up the logo on the Hesacore with a flat side of the paddle. The two plastic tabs should be positioned on the side of the paddle.
Position the Hesacore over grip to the edge facing away from you catches on the opposite side of the grip. Use the tabs to work the sides over the edges of the handle.
Work the overgrip down so that all edges are now on the handle.
Work the grip down the shaft of the paddle, making sure all sides are coming down together. Insert a finger on the butt end of the grip if one side is hanging up, you can recenter the grip on the handle.
If you need to rotate the grip to line up with the paddle, do it sooner rather than later, as it becomes much more difficult the more material is on the handle.

Step 5: Remove Tabs
Pull tabs out, keeping them flat to the paddle face.
NOTE: Do not pull up away from the face of the paddle, as you can tear the grip!
Since you lubricated the handle and softened up the grip, they should come out quite easily.

Step 6 (Optional): Tack Down With Superglue
My first install I skipped this step. Unfortunately, the grip slid down away from the end cap, leaving a section at the bottom of the handle that was narrower than the rest of the grip. Most paddles feature a larger butt diameter than shaft, so this resulted in a very uncomfortable feeling.
On subsequent installs, I place a ring of superglue around the end cap and slide the base of the Hesacore grip to be flush with the end of the handle. This ensures the grip stays in place and has a factory finish and feel.

Step 7: Add finishing Overgrip of Choice
I love ADV Max Tac over grips. The white on white looks great and has a great feel.

You Did It!
There you have it, a finished Hesacore install that’s very easy to do.
Be sure to use code JOP10 on Hesacore’s website to save 10% on your purchase!